
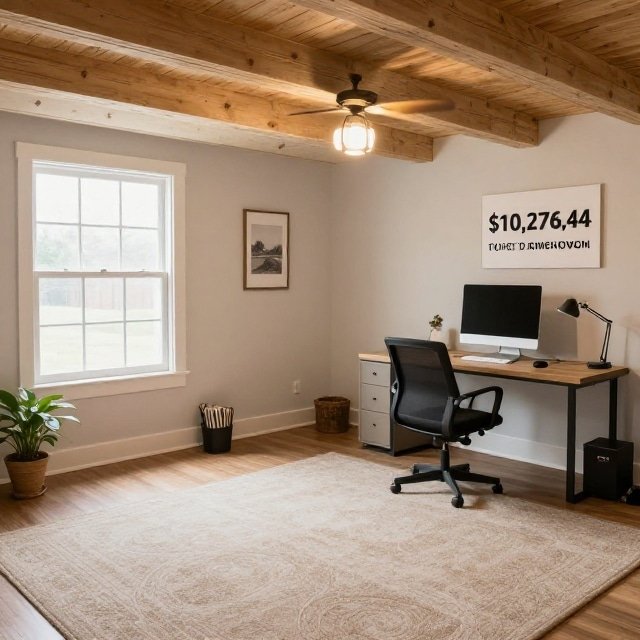

After a month and a half, we have finally finished our basement project that we decided to take on at 37 weeks pregnant, which probably wasn’t the smartest idea. And we had a budget of $10,000. And unfortunately, we went over that budget, spending $10,276.47. But for this video, we are going to break down all of the costs of the basement so you can figure out how much it would cost you to redo a space like this of your own.
To set a baseline, our project is just over 500 ft. And the goal was to turn this space into an office and a large playroom. Luckily, our home is just shy of 15 years old and has the proper waterproofing in place. However, we still wanted to take the extra preventative measures to protect against moisture in the future and ensure we do everything right.
Subfloor: $1,159.59
So, starting with the subfloor, we use DryCore panels, which is 2×2 manufactured OSB with XPS foam underneath that has tongue and groove pieces for easy assembly. This is definitely on the more expensive side, but it gives you a breathable floating floor, allowing moisture to dry out if there ever was any, and offers an R value of 2.7, increasing the finished floor temperatures up to 19°. This cost us $1,159.59 and was just about 10% of the project cost.
Foam Board Insulation: $637.29
Next was installing the foam board insulation to the concrete walls, which came out to $637.29. And this includes the XPS foam board, foam board construction adhesive, and the tape. We used 1-inch foam board with an R value of five.
Framing: $834.48
Next comes the framing, which totaled $834.48, and it includes about 17 2x4s, nails, and shims. We framed this out on top of the subfloor according to DryCore’s recommendations to allow any moisture behind the walls or beneath the floor to breathe easier and dry out.
Electrical: $383.12
Once the framing was completed, we ran our electrical, which totaled $383.12. And we added three 20 amp circuits to our electric panel. This cost includes everything from wires, boxes, receptacles, staples, wire nuts. Everything electrical here falls under this bucket.
Insulation and Fire Blocking: $545.76
Next comes more insulation and fire blocking. In total, we spent $545.76 on R13 roll insulation and fire blocking spray foam. With the foam board and the roll insulation, we have a combined R value of 18 for our basement walls, which is more than enough in our area.
Drywall: $1,530.98
It was time for this basement to start looking like a real livable space, which means we’re hanging drywall. In total, we bought 51 sheets costing $1,530.98, which includes spackle, screws, corner bead, and anything else that I’m forgetting. And we hung 32 sheets on the walls and laid 19 sheets down on the ceiling.
Now, this is where we’re starting to go over budget. Instead of spending probably way too much time spackling and taping myself trying to perfect it, we actually ended up hiring a guy to spackle the walls for $900. If we didn’t hire this out, we would have been within our budget, but we likely wouldn’t have stayed on our timeline. So, it’s a bit of a give and take here.
The DIY Drop Ceiling: $589.32
Next was the ceiling, which I did not want to hang drywall on the ceiling. So, after a few hours on YouTube, I found the idea to create a custom DIY drop ceiling that uses furring strips and drywall, but no spackling is required. Sure, this adds cost to the project due to the furring strips, but it actually cut costs, reducing the labor required to mud and tape the ceiling, because again, I was not going to do it. Also, I can’t stand when tape shows through walls after a few years down the line, and this definitely avoids that.
In terms of the furring strips, we use common board mostly consisting of 1 by 3s with some wider pieces along the perimeter. And this totaled $589.32. I really like this though, and I think it came out great. And since each piece of drywall is simply resting on the furring strips, the gap between the floor joist is easily accessible for any future projects I may be interested in doing. And you could simply lift it up at any time.
Paint: $548.13
Anyway, with the drywall hung, taped and spackled in the ceiling in place, the basement is really starting to come together and it’s ready to paint. We opted to use a spray gun to paint the ceiling since there’s so many grooves and rolling and brushing would probably take a long time. And we also color drenched the playroom, meaning the ceiling and the wall color is the same, which I was hesitant at first, but Taylor’s intuition was right again. It looks great. In total, we spent $548.13 on paint, which includes the paint for the ceiling, the walls, and the trim.
Vinyl Plank Flooring: $558.43
After the paint dried, we laid the vinyl plank flooring in the office, which totaled $558.43, and it was a relatively easy install. This brand in particular is Smart Core from Lowe’s, and I’ll do my best to link all of the products we used in the description below if you’re interested.
Trim and Window Frames: $473.97
The next objective was to install the trim, which unlike the vinyl plank flooring, if you’re getting carpet, you want to install the trim before the carpet arrives. I left the half-inch gap between the subfloor and the trim, so the carpet guys had enough space to tuck the carpet underneath. I bucketed the trim and the window frames together in its own category, totaling $473.97, but it was basically an even split between the two.
Interior Doors: $263.88
We also installed two interior doors, one for the utility closet and one to separate off the unfinished laundry room and storage area of the basement. This cost $263.88 and was relatively easy to install with the hardest part just making sure it’s nice and square.
Future-Proofing With a Battery Backup Sump Pump
Now that the basement is almost complete, we wanted to add an extra step in future proofing and keeping it dry. So, we will use this EcoFlow Delta 2 portable power station as a battery backup for our basement sump pump. We’re relatively close to the coast here in New Jersey and susceptible to hurricanes and other nor’easters. So, in the event of a power outage or torrential rainstorm, having the Delta 2 gives us peace of mind.
The Delta 2 has an emergency power supply mode which automatically switches to battery power in 30 milliseconds. So, if there was a power outage, the pump will continue to work with barely any interruption. The Delta 2 has a 1,024Wh capacity with a surge power of 2700 watts, offering a battery backup solution for 90% of our home’s appliances. So, if for some reason we were out of power and didn’t need the sump pump, we could move this to the kitchen to run our refrigerator or use it for lighting if it was nighttime and dark out.
It’s also a great power station for on-the-go, whether that be road trips or camping, since it has 15 outlets in total. 6 AC, four USB-A, and two USB-C, one car power outlet, and two DC 5521s. Basically, an outlet for any type of device.
You can charge it using three different methods. I prefer the AC power because it’s ridiculously fast, charging from 0 to 80% in 50 minutes. It also can charge via DC power, like your car’s 12-volt socket. And lastly, the sun via solar. You’ll often find me using this for blowing leaves in the backyard since I find its portability easier than connecting multiple extension cords and being limited on how far I can reach. And on the go, I love the 100 watt USB-C fast charging since I can plug my computer directly into it without bringing the bulky power adapter.
EcoFlow currently has a Mother’s Day sale running until May 28th. And with discount code EFMD5G, you can get an extra 5% off on all EcoFlow products. I’ll leave a link in the description below with more details. And thank you EcoFlow for sponsoring today’s video.
Carpet: $2,323.70
Last was the carpet, which was a big chunk of change and again something I was skeptical on, but again, Taylor pushed for this and I am so happy she did. Now I am fully on board. If you’re going to have a basement used as a play space for kids, a carpet is a must. It just makes it so homey, and we opted for a lush carpet that’s soft, so when we’re wrestling around, we don’t have to worry as much of getting hurt. In total, the carpet cost $2,323.70, which included removing the old carpet on the stairs, the carpet itself, and the labor to install it.
Miscellaneous: $88.44
There were also a few remaining items that fall under miscellaneous bucket totaling $88.44, which are just small man fees, but here it is anyway.
Final Total: $10,276.47
Again, in total, the project cost $10,276.47, but if we didn’t hire the drywall, spackling or the carpet install, we would have been well under our budget of $10,000.
Anyway, let me know if you have any questions. This was my first basement project, and I learned a lot. I am definitely happy it’s over now, and we could focus on our boat life content as we prepare for America’s Great Loop. But yeah, this was definitely a fun one. If you told me we’d be putting an offer in on a boat sight unseen today, I would have never believed you.