

Trading city life for the countryside, a young couple in their mid-twenties took a leap most people talk themselves out of: buying a rundown property at auction for £175,000 and renovating it themselves. Seven months and roughly £30,000 into the project, they’ve already combined a dated kitchen and wet room into an open-plan kitchen diner, added an upstairs bathroom, laid a 40-square-metre patio, and fitted their own French doors. In this stage of the renovation, the focus shifts to the details that turn a house into a home — carpets, furniture, a garden office conversion, and the driveway that’s been missing since day one.
Installing Upstairs Carpets
With the paneling and painting finally finished in two of the upstairs bedrooms, it was time to tackle carpet installation — something the couple had been looking forward to, especially with colder weather setting in. As first-time carpet installers, they brought in their plasterer, who turned out to also be skilled at carpet fitting, to guide them through the process.
The install began with fitting carpet grippers around the perimeter of each room, angled so the pins face inward, with a small gap left between the wall and the gripper. Hammering the grippers into place took roughly ten minutes per room — far quicker than they’d expected.
For the carpet itself, they ordered free samples online before choosing a soft white-toned carpet with a thick, 16mm pile for a plush, bouncy feel underfoot. They paired it with a 12mm underlay, which not only made the carpet feel thicker but also added noticeable thermal and sound insulation between floors.
The installation process involved laying the carpet across the floor with overhang at every edge, trimming it down, securing it to the grippers, and stretching it tight using a knee kicker to eliminate any loose or puffy sections. The result transformed the upstairs rooms significantly — and left the couple concluding that professional-looking carpet installation is far more approachable for DIYers than they’d originally assumed.
Tackling the Driveway and Curb Appeal
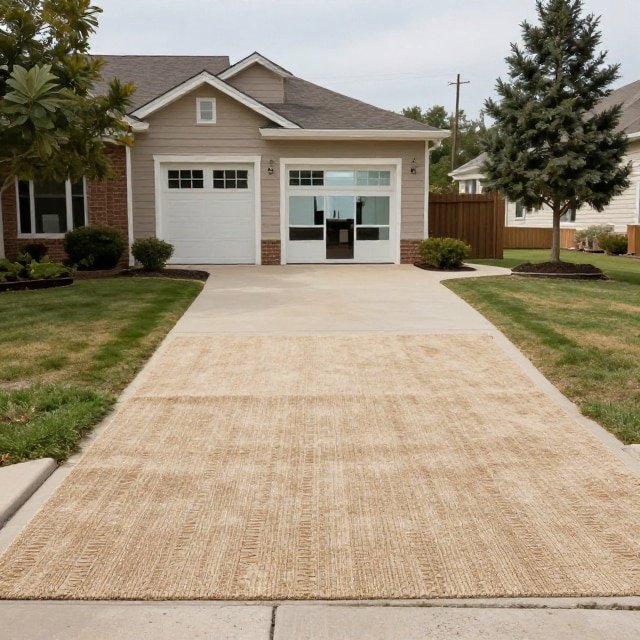
Curb appeal had been one of the property’s weaker points since the couple bought it — the driveway had never been properly divided, leaving the house feeling less private than they wanted. After spending four to five exhausting days laying a 40-square-metre patio by hand, they made the call to bring in a local groundworks team to handle the driveway instead of taking it on themselves in the middle of winter.
Converting an Outbuilding Into a Home Office
Alongside the driveway work, the couple started a smaller side project: converting an outbuilding behind the house into a work-from-home office space. With help from family, they began plastering the space while painting the interior in parallel. The building itself is compact but workable — enough room for a long desk along the back wall to create a proper home office setup.
To furnish the new office efficiently, they used kitchen units — repurposed as office cabinetry — planned out using an online kitchen design tool. Keeping the layout simple suited the small footprint of the space without overcrowding it. One wall was deliberately left unplastered, since it’s being clad instead to create a feature wall behind the desk, echoing a style the couple has used in previous van conversion projects.
As DIY plastering novices, they took on the job themselves rather than hiring it out — saving a couple hundred pounds in labor in the process, even if the results were a learning experience rather than a polished trade job.
Furnishing the Renovated Bedrooms
With carpets finally down, furnishing became the next priority. For the main bedroom, the couple chose a wooden bed frame with a slatted headboard designed to complement the paneling installed behind it. Bedside tables sourced from an auction were upcycled to match — a simple, budget-friendly way to add character to a room. A useful cost-saving tip from the process: reusing leftover wall paint, or sourcing free paint from a local recycling center, is an easy way to keep upcycling projects cheap.
For the second upstairs bedroom, they chose a different bed style — a fabric and wooden scroll frame — which, alongside the oak furniture in the main bedroom, gave each room its own distinct character while tying the upstairs together.
What’s Left to Do
Despite the visible progress — carpets installed, bedrooms furnished, an outbuilding transforming into a functional office, and a driveway underway — the couple was candid that there’s still plenty of work ahead: finishing the outbuilding office, renovating the pantry, and working through a lingering snag list. Additional curb-appeal plans include solar lights along the new fence, a small picket fence, and bark chippings to tidy up the flower beds.
The Bigger Picture
What started as a rundown £175,000 auction property has, through steady DIY work and smart budgeting, become a home that’s beginning to feel genuinely complete — even as the to-do list keeps growing. It’s a reminder that renovation rarely follows a straight line: some tasks (like carpet fitting) turn out easier than expected, others (like plastering) take real trial and error, and some jobs are best handed off to professionals when budget and timeline allow. Together, they add up to a property being reshaped one room — and one weekend project — at a time.