
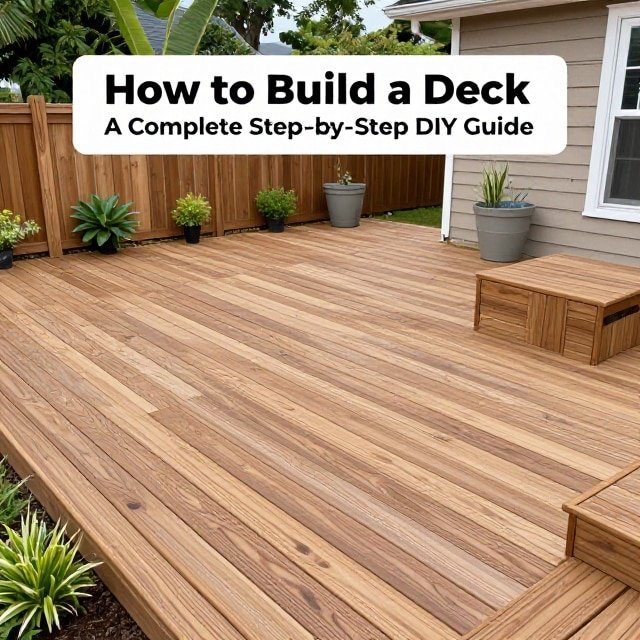

From planning to the final railing cap — everything you need to build a deck yourself
Building your own deck is a project that seems intimidating at first, but with the right planning and a step-by-step approach, it’s completely achievable for a motivated DIYer. This guide walks through the entire process — from designing your deck online to the final finishing touches — based on a full deck build from start to finish.
Step 1: Design Your Deck Before You Buy a Single Board
Before any digging or cutting begins, start with a deck design tool (many home improvement retailers, including Lowe’s, offer a free online deck designer). These tools let you:
- Choose from pre-made templates or design completely from scratch
- Customize size, shape, height, number of levels, and stairs
- Select decking material (wood or composite) and railing style
- Get a real-time material cost estimate so you can adjust before committing to a budget
- Generate a full materials list, hardware list, and layout plans
Once your design is finalized, take the plans to your local building assessor to confirm they meet code requirements. If adjustments are needed, you can revise the plan before pulling a building permit. After approval, many retailers will pull and even deliver your full materials list directly to your home for a small delivery fee.
Step 2: Lay Out the Deck Footprint
A square, accurate layout is the foundation of a solid deck build. Here’s how to get it right:
- Stake a point near the house and build batter boards with movable string lines.
- Measure from the house to the outside edge of your farthest post on both sides.
- Measure the distance between your outside posts, then repeat that measurement further out to form a parallelogram.
- Square the layout by measuring corner to corner (diagonal measurements). If one diagonal is longer than the other, shift the strings slightly until both diagonals match — this confirms a true square layout.
Step 3: Mark and Dig Post Holes
Using your finalized plans, measure and flag the exact spacing for each post hole. Digging method depends on soil conditions — soft ground can often be handled with manual post hole diggers, while denser soil may require a gas-powered auger.
Local codes typically dictate how deep post holes must go to get below the frost line (commonly around 42 inches, though this varies by region). Always confirm exact depth and post-setting requirements with your local building inspector, since methods (like burying posts directly in concrete vs. using post anchors) can vary by code.
Step 4: Pour Concrete Footings
- Set 12-inch concrete forms into the holes, trimmed to sit a couple of inches above ground level to allow for water runoff.
- Backfill and tamp soil around the forms to secure them.
- Mix and pour concrete (a rented concrete mixer saves significant time and effort compared to hand-mixing). Always wear a respirator or take precautions to avoid inhaling concrete dust.
- Smooth the top of each footing with a slight convex shape to shed water.
- Insert post anchor bolts about one inch above the concrete surface, aligned with your layout lines.
- Once footings cure, add landscape fabric and rock beneath the deck area to manage drainage and prevent weed growth.
Step 5: Set and Cut Your Posts
To determine post height:
- Mark the desired deck height on the house.
- Subtract the combined thickness of the decking boards, beams, and joists (in this build, roughly 15.5 inches total).
- Transfer that measurement to a level line running across your posts, sloping the outer edge down slightly (about half an inch) to encourage rain runoff.
- Measure from each post anchor up to the line to determine individual post height.
- Cut posts to length — a 6×6 post is a popular choice even when code allows smaller sizing, since the extra width provides more room for adjustment when mounting beams.
Step 6: Build and Install the Beams
Beams can be built by sandwiching two 2×8 boards together with galvanized nails spaced roughly every 16 inches. Once posts are anchored:
- Attach beams using structural brackets.
- Double-check that beams are square before securing them permanently.
- Fill every nail hole in each bracket — skipping holes weakens the connection significantly.
Step 7: Install the Joists
- Lay out joists every 16 inches, starting with the joist nearest the house.
- Mark each 16-inch increment and use an “X” to indicate where the center of each joist should land.
- Toenail joists into place, which also makes attaching hurricane brackets easier.
- For wider decks that require joining two joists over a center beam, add blocking between joists along that beam to prevent twisting or rolling.
- Snap a chalk line to trim all joists evenly before attaching the rim joist.
Pro tip: Use temporary support blocks to hold the rim joist in place while nailing and leveling it, then remove them once the rim joist is secured with joist hangers.
Step 8: Lay the Decking
- Countersink screw holes near board edges to prevent splitting.
- Use two screws per joist connection, spaced every 16 inches.
- Periodically check that boards remain square by measuring near the house and at the far end every few rows.
- Wet lumber should be pushed snug together, since boards will shrink slightly as they dry, naturally creating drainage gaps. Dry lumber should have roughly an eighth-inch gap added manually between boards.
For a clean finished edge, hold off on installing the final few deck boards and the outer rim joist until you can measure and trim precisely — this ensures the last row of decking lands flush with the outer rim joist instead of requiring an unsightly ripped board.
Step 9: Add the Skirt
Once decking is complete, a 2×12 skirt board wraps around the perimeter of the deck for a finished look.
Step 10: Build the Railing System
Railings are one of the most heavily regulated parts of any deck build, so confirm code requirements for railing height, attachment method, and baluster spacing with your local inspector before starting.
Posts:
- Notch posts using a circular saw with relief cuts, then clean up with a chisel and block plane.
- Add a decorative 45-degree bevel to post tops.
- Space posts according to code minimums, checking plumb and square before drilling carriage bolt holes.
- Secure each post with two carriage bolts, washers, and nuts.
Balusters:
- Cut 2×4 top and bottom rails to support balusters between each post span.
- Use spacers and a speed square for consistent spacing.
- Code typically requires a maximum gap of 4 inches between balusters. To calculate exact spacing:
- Measure the inside width between posts.
- Add the width of one baluster.
- Divide that total by 4 (the maximum allowed gap) and round up to determine the number of balusters needed.
- Divide the original width by that number to get your spacer width.
- Bevel all balusters uniformly by lining them up and cutting with a circular saw rather than individually on a miter saw.
- Countersink and screw each baluster at the top and bottom.
Step 11: Build the Stairs
- Excavate and level a base using packed gravel.
- Pour concrete footers to support the stair stringers (a concrete landing pad can be added here as well).
- Cutting stair stringers is one of the more technical parts of a deck build and is worth researching in detail or watching a dedicated tutorial before attempting.
- Once stringers are set, add kicker boards, decking, and railings to match the rest of the deck.
Step 12: Finish With the Railing Cap
Cap the railing using standard deck boards, mitered at 45 degrees for clean corner joints.
Final Step: Let It Season
New, wet lumber should be allowed to dry and season — often through a full winter into the following spring — before staining. Once seasoned, adding stain, lattice skirting, and surrounding landscaping completes the project for a deck built to last for years.
Keywords: